
Walls looking bare? Don't toss out last year's calendars. Discover a fun way to reuse old calendars and make wall art to decorate your home....
How to Reuse Old Calendars to Make Cute Framed Art on the Cheap
Walls looking bare? Don't toss out last year's calendars. Discover a fun way to reuse old calendars and make wall art to decorate your home....
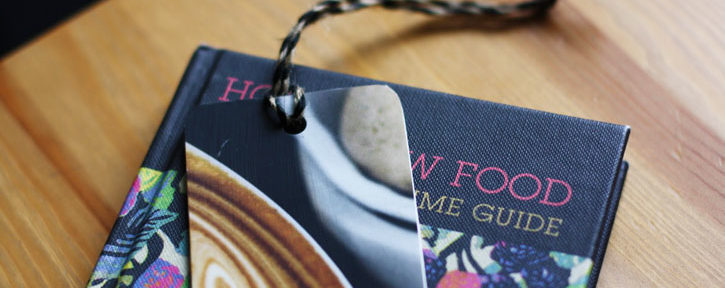
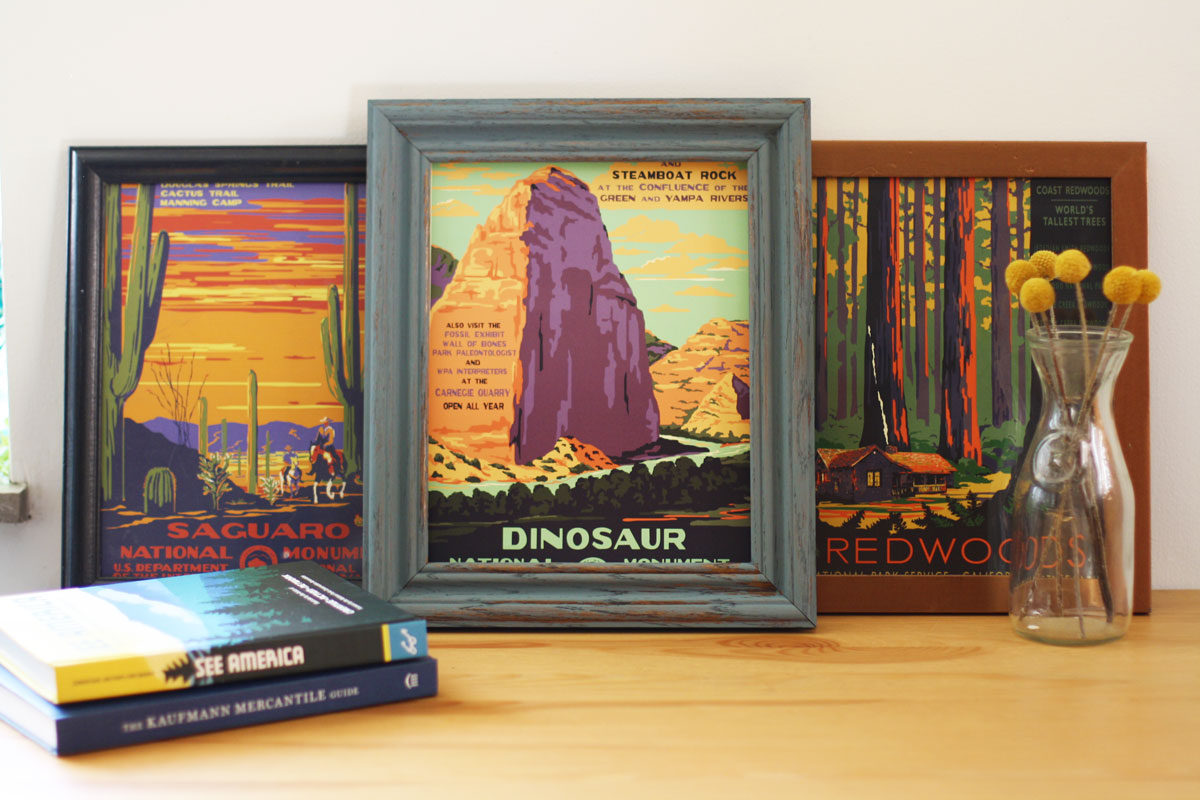
Inside: Want a good way to reuse those old wall calendars? This creative craft project demonstrates how to repurpose old calendars into bookmarks. Don’t toss out last year’s calendar just yet. You can repurpose those dated calendars into bookmarks. Because bookmarks are one of those things that always seem to get lost. Like keys, socks and your mind when you’re trying to find said keys, socks and bookmarks. Where do they GO? Book lovers know you can never have too many bookmarks. So, why not easily create your own bookmarks from that calendar you were going to throw in the trash? Besides keeping unnecessary waste out of the landfill, making your own bookmarks may also help you keep that New Year’s resolution of reading more this year. A pretty bookmark may be all the incentive you need to crack open a few more books. Get ready to turn those pages. (And not lose your spot). Here’s a step-by-step tutorial showing how to repurpose old calendars into bookmarks. Every year, my mom buys me a couple of wall calendars for Christmas. And every year in January, my eco-conscious heart hates to toss out the old ones, even if I am...
Before you hunker down for the winter, we still have a few nights left to enjoy the fall weather. I finished making over a wooden bench for my porch just in time. Cast off on the side of the road, this sad wooden bench was destined for the trash. See how I refurbished the bench—with a bit of sanding and a paint job—and gave it new life on my front porch. Abandoned in front of a house with a “free” sign taped to its front, this sweet little bench sat waiting for me to scoop it up. Its maroon paint was chipped and worn, but more in a neglected way than in the farmhouse style that’s so popular today. Despite its shabby paint and scratched up surface, the bench was sturdy. No broken legs or wobbly parts. It just needed a little TLC and a fresh paint job. Fixing this bench started with a lot of sanding. And more sanding. And taking a break when my hands hurt from all the sanding. And more sanding. The boards that made up the seat of the bench were so scratched and worn that I would have had to sand them away...
Not too many of us have four-foot tall old shipping crates just hanging around to repurpose. I’m just guessing here, anyway. But lucky me, I find all kinds of treasures in my grandparents’ house and garage. Like this shipping crate. It was originally used to ship fragile items from Columbia Lighting, according to a stamp on its side. My grandpa (I call him Poppy) added a couple of shelves for me and voilà. Turned on its side, this shipping crate makes a fun narrow bookshelf. This is one sturdy shelf. It’s so heavy; I could barely lift it to try it out in different spots around my house before selecting the perfect location. And, it’s almost as tall as me! I love the perfectly imperfect parts about this shelf. “This side up” is handwritten in marker on one side. It also has several stamps from the lighting company where it originated. And all of the wear and tear, adds charm. After all, it’s a shipping crate. It should have some wear! The narrow width of this shelf works great in my tiny home. It’s exactly what I needed. What do you think? If you like this, also check out this...
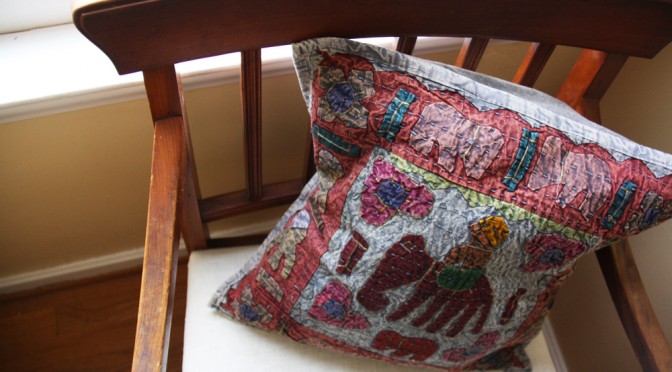
Remember this wooden chair I found in a pile of garage sale leftovers bound for the trash? The chair just needed a little bit of a makeover to transform it into one pretty piece. One leg was a bit cracked, but I fixed that with some wood glue. (You can’t even tell it was ever broken.) And, the yellow cushion had seen better days. That was the bulk of the transformation. I just recovered the cushion using a staple gun and a pretty piece of linen I found at an estate sale. It barely took any work because I just covered over the fabric that was already on the cushion. I didn’t even have to take anything apart. In case you missed it, here’s the before pic: And, here’s the after: Don’t ever let a chair cushion that’s stained or in an ugly fabric deter you from getting a chair you love. Many times the cushion is easily removable and you can recover it yourself. Recovering this cushion took me about 15 minutes. P.S. I got this adorable ethnic pillow cover in Portland, Oregon. What do you think of the chair? Do you like the transformation? Keep up with...

My awesome friend found this medicine cabinet sitting on the curb and snagged it for me. She knows about my love for free furniture. Do I have any idea what I’m going to do with it? No, not really. Am I excited about it any way? Of course! It’s not as big as it looks. The width is about the size of a standard medicine cabinet, maybe a little wider. And the length is probably about four feet. It doesn’t look like it would be too difficult to hang on the wall. Maybe I could just set the shabby shelf on top of a dresser? I’m really not sure. I need your ideas! Tell me what you think I should do with it? I need some creative inspiration. Please oh-please drop me an idea in the comments… Keep up with Red Leaf Style! Follow Red Leaf Style author Kirsten Hudson on Twitter @kirsten_hudson, Google+ and Pinterest. This is the twenty fifth post in a 31 days blog series called 31 Days of Reimagining. Start from the beginning....
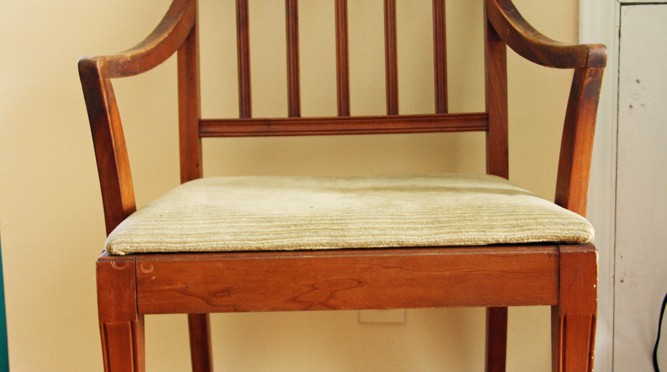
Can you believe that I found this pretty piece on the side of the road? Yep. I spotted her in a pile of garage sale leftovers bound for the trash. I saw the potential for a stylish chair immediately. You can see right away that the bones are good. Sleek arms and engraved details. Even though the cushion is mighty stained and one leg was slightly cracked, I knew I could transform her. Look out for a full makeover soon! What do you think of this chair? Do you think she can be saved? Keep up with Red Leaf Style! Follow Red Leaf Style author Kirsten Hudson on Twitter @kirsten_hudson, Google+ and Pinterest. This is the twenty fourth post in a 31 days blog series called 31 Days of Reimagining. Start from the beginning....