
With a little do-it-yourself magic, you can transform cheap plastic pumpkin buckets into the cutest plastic pumpkin planters for fall....
This is the Easiest Plastic Pumpkin Planter for Fall
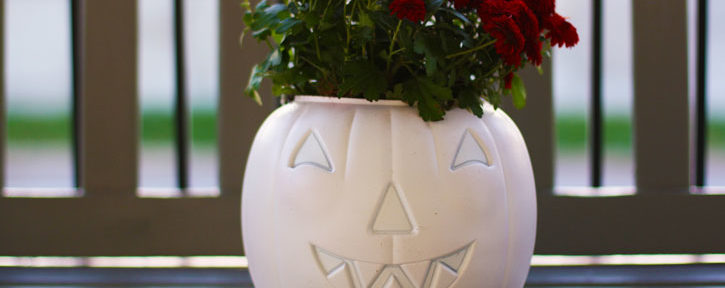
With a little do-it-yourself magic, you can transform cheap plastic pumpkin buckets into the cutest plastic pumpkin planters for fall....
Today’s Halloween! I hope you’re enjoying some spooktacular festivities. I’m just hanging around the house rearranging pumpkins. But really. I’m into things like that. This year, I bought a plain white pumpkin, a brownish-orange Cinderella pumpkin and a few mini pumpkins from my local farmer’s market. My favorite farmer even gifted me the cutest, tiniest orange pumpkin today for Halloween. I’m not much of a Halloween decorator, but my mom sent me this cute BOO banner in a card and it’s just the right touch for me. I like the bit of Halloween flair it adds to this fall display. I’m already starting to get excited to decorate for the holidays, but I’m trying to slow down and enjoy my pumpkins (and fall!) a while longer. I hope you have a frightfully fun Halloween! Related articles: DIY Concrete Jack-O-Lanterns How to Make a Halloween Scarecrow Last-Minute Halloween Decorations...
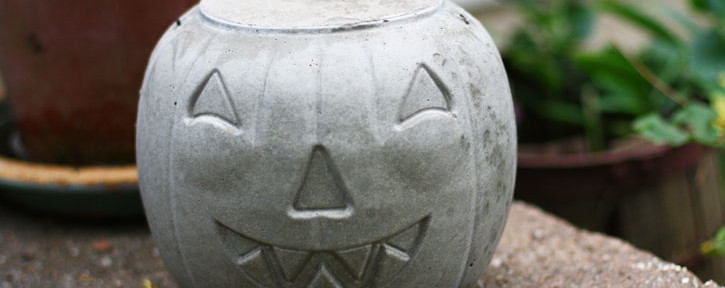
Create spooky-chic Halloween décor for your front porch when you conjure up concrete jack-o-lanterns. Made from plastic pumpkins, these dramatic decorations are surprisingly easy to make....
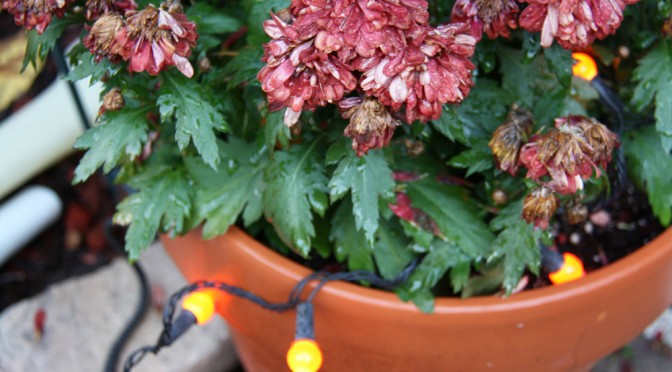
I wasn’t going to decorate for Halloween. I really wasn’t. Why buy décor that I’m only going to use once a year? I prefer to decorate for fall with items I already have. Then, my parents gave me a box of old Halloween decorations we used when I was a kid. Fake hands and feet. A bunch of oh-so creepy fake rats. And one string of lights. I figured, why not put it out? It took me all of five minutes to make my doorstep spooktastic. Happy Halloween! Keep up with Red Leaf Style! Follow Red Leaf Style author Kirsten Hudson on Twitter @kirsten_hudson, Google+ and Pinterest. This is the thirtieth post in a 31 days blog series called 31 Days of Reimagining. Start from the beginning....
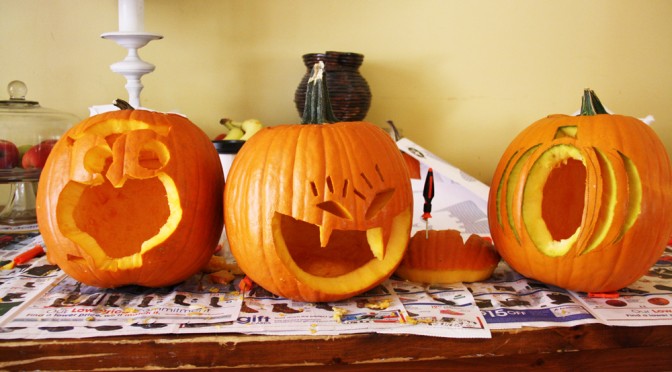
Carved pumpkins don’t last very long, so I may as well as show them off. I have no tips or tricks for you. My pumpkin carving knowledge is pretty standard. Cut a circle around the stem. (Don’t get too close to the stem or the hole will be too small.) Gut the thing. Trace your template onto the pumpkin using one of those spinny wheels that make the holes. (This is always the hardest part for me.) Carve it out. Done. This is the first year I haven’t attempted a way-too-ambitious pumpkin and I couldn’t be happier. Not only was I done in about 30 minutes, but my back and legs weren’t aching and I had energy to do other things that day. For your enjoyment, a few pictures of carving a lovely owl, vampire girl and pumpkin on a pumpkin (that one’s mine!). Have you carved pumpkins yet? What did you carve this year? Keep up with Red Leaf Style! Follow Red Leaf Style author Kirsten Hudson on Twitter @kirsten_hudson, Google+ and Pinterest. This is the twenty sixth post in a 31 days blog series called 31 Days of Reimagining. Start from the beginning....
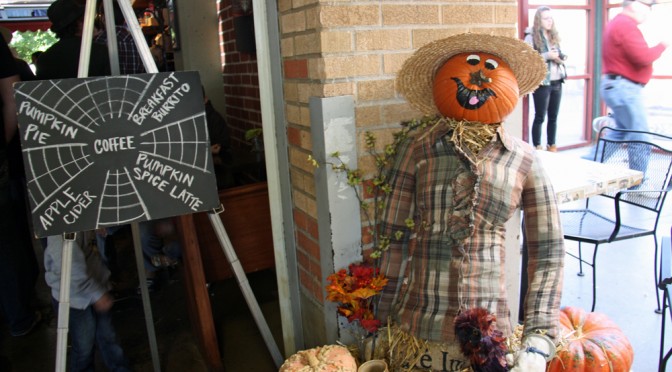
Get your front porch ready for fall with an easy-to-make Halloween scarecrow. I spotted this cute scarecrow lady at my favorite local coffeeshop, City Market Coffee House. The collection of restaurants, shops and bakeries in the area were having a scarecrow-making contest and this one won second place! I asked the owner, Nikole Ammer, how she made her scarecrow. It doesn’t take a lot of effort—or supplies—to put together a similar scarecrow for your front porch. Here’s what she did, adapted for you. Pumpkin face Choose a pumpkin with a nice long stem for a quirky nose. Use craft paint to create a face around the stem. Scarecrow style Grab a shirt, pants, boots, hat and gloves from a local thrift store. (Nikole made this cute scarecrow lady’s pants out of coffee bean bags. She sewed them herself. So clever!) Body build Stuff the clothes with straw. You can also cheat a little and use newspaper if you don’t want to buy straw. Safety pin the shirt and pants together for extra support. That’s it! Sit your scarecrow on your front porch swing or up against a wall. Add a few pumpkins and maybe even some straw bales for...